A beautiful landing page can make all the difference in helping you achieve your marketing goals. It can help you capture leads, get new clients, or get the information you require from your audience.
But very often than not, we get stumped when it comes to creating a landing page. The whole concept seems complicated.
WordPress makes things easy for its users however even then most of us fall flat when it comes to getting everything perfectly right.
Well, today is your lucky day, because after you’re done reading this article, you will be able to create stunning landing pages for your WordPress website within minutes and for absolutely free.
The best part is that you do not require any coding experience whatsoever.
With the help of the steps I have mentioned below, I was able to create a landing page like this in barely 7 minutes. You can also check the live page here
Table of Contents
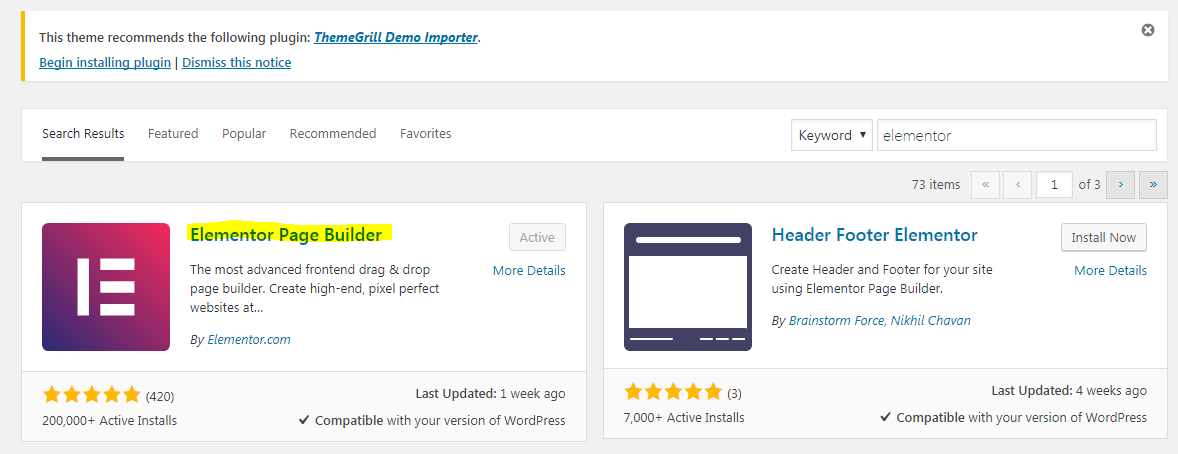
Step 1: Install Elementor Page Builder
Elementor is an amazing plugin that you can install on your WordPress site which simple to use with convenient drag and drop functionalities.
For the purpose of this tutorial, I will show you how I created the ‘Hire Me’ page for Rightly Digital using the Elementor plugin.
Go to the plugins option on your WordPress CMS and search for Elementor. Download and activate the ‘Elementor Page Builder’ plugin
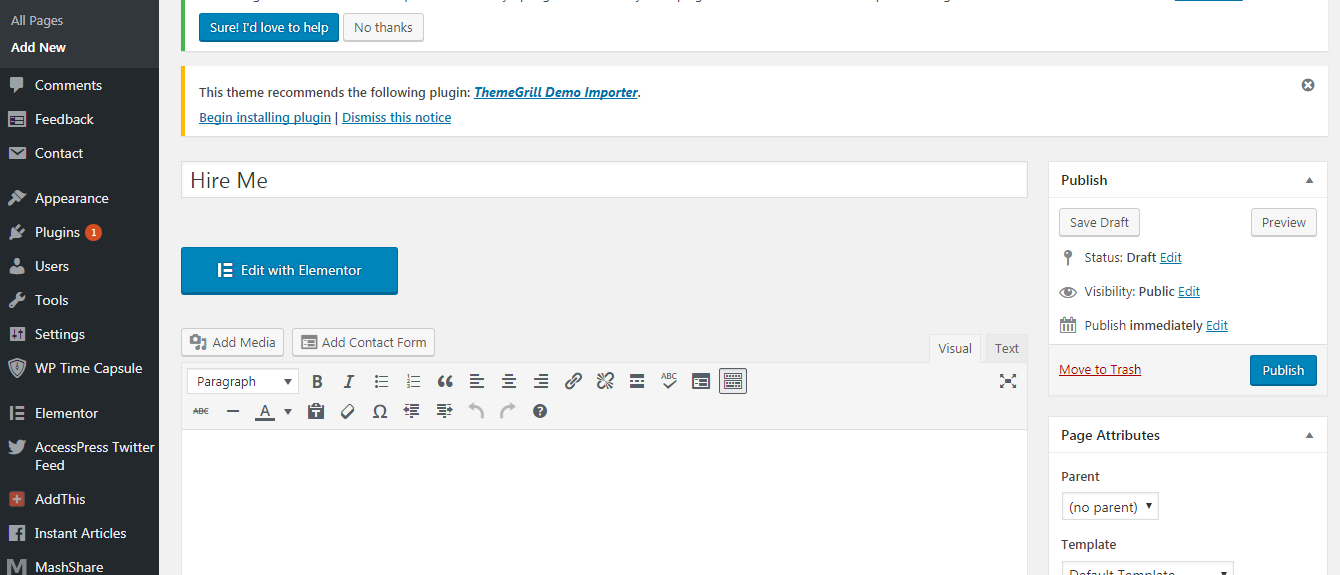
Once you activate it, go to your pages tab on your WordPress dashboard and click on ‘Add New’
Give your new landing page a name of your choice, I am going to name mine ‘Hire Me’. Next, click on the ‘Edit with Elementor’ button
Now let’s get into the actual editing of the landing page.
Step 2: Designing Your Landing Page
Below I have added a screenshot of what the Elementor page editor dashboard looks like. You will see various options on the left-hand side that will help you add different sections to your landing page.

The first thing that we need to do is work on different sections of the landing page. Let us start with the header section.
Click on the ‘T’ icon and drag it to the add a new section box.
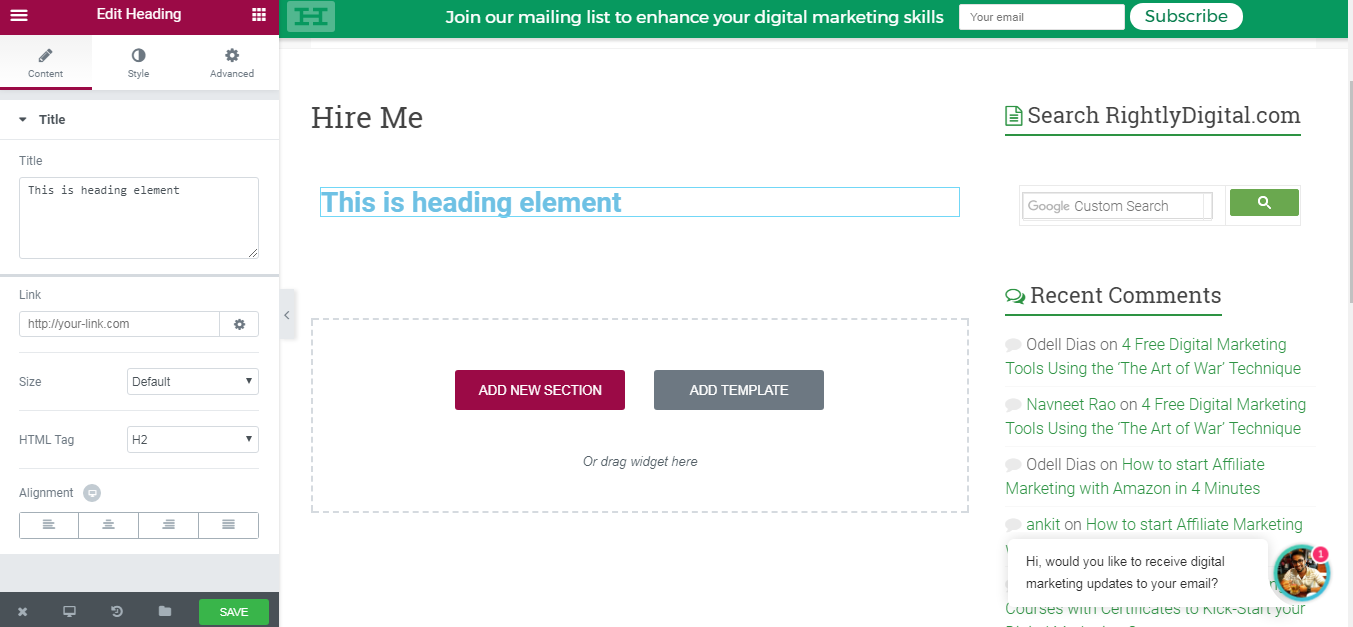
Then type in the text that you want, I am going to type ‘Do you want more people to know about your business?’
Scroll down to the alignment option and click on the center icon if you want to adjust the alignment.
Now I want to change the font so I will click on the style tab and switch on the typography option. Then I will scroll to the family section and select Roboto Condensed.
Since it is going to be my header, we will increase the size of the text and change the style to capitalize so that it attracts attention.
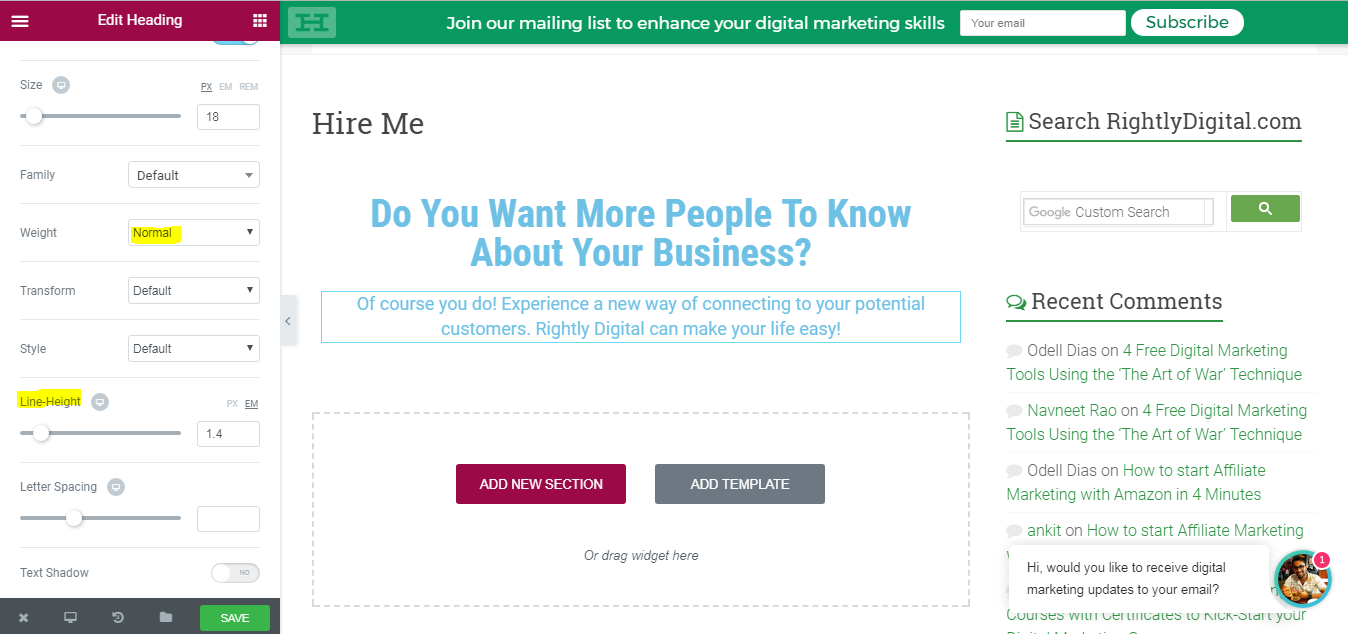
Now below the main header, we would need to add a subheader. Follow the same steps to add the subsection.
I am going to write ‘Of course you do! Experience a new way of connecting to your potential customers. Rightly digital can make your life easy!’
Since it is the subheading tab we need to make a few minor adjustments with the size and weight of the text.
Now the next step is to add a call to action button. On the top left-hand side, click on the symbol that has the three horizontal lines to go back to the main dashboard.
In the search bar type ‘ button’. You will then get a button widget. Simply drag and drop the button widget below the subheading tab.
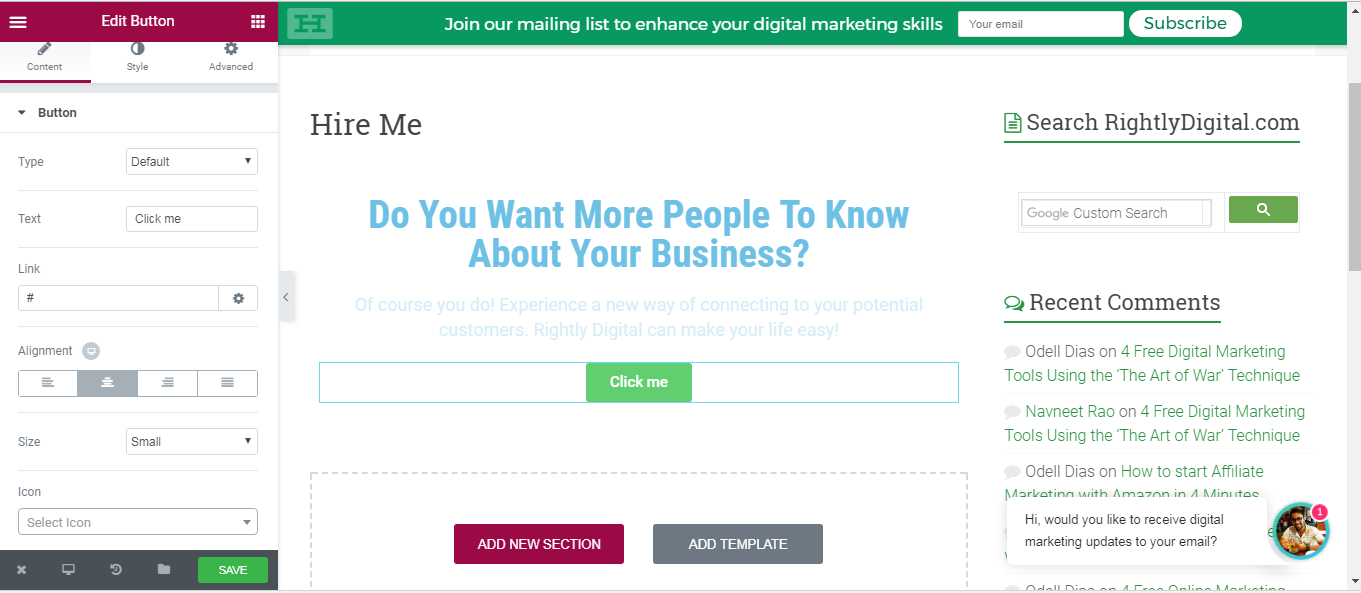
Then you can start customizing the button the way you want to and add a link so that people are directed to the page you like.
For my hire me page, I have created a Typeform in order to capture any clients information. Typeform has a sleek minimalistic interface and is free for up to 100 responses.
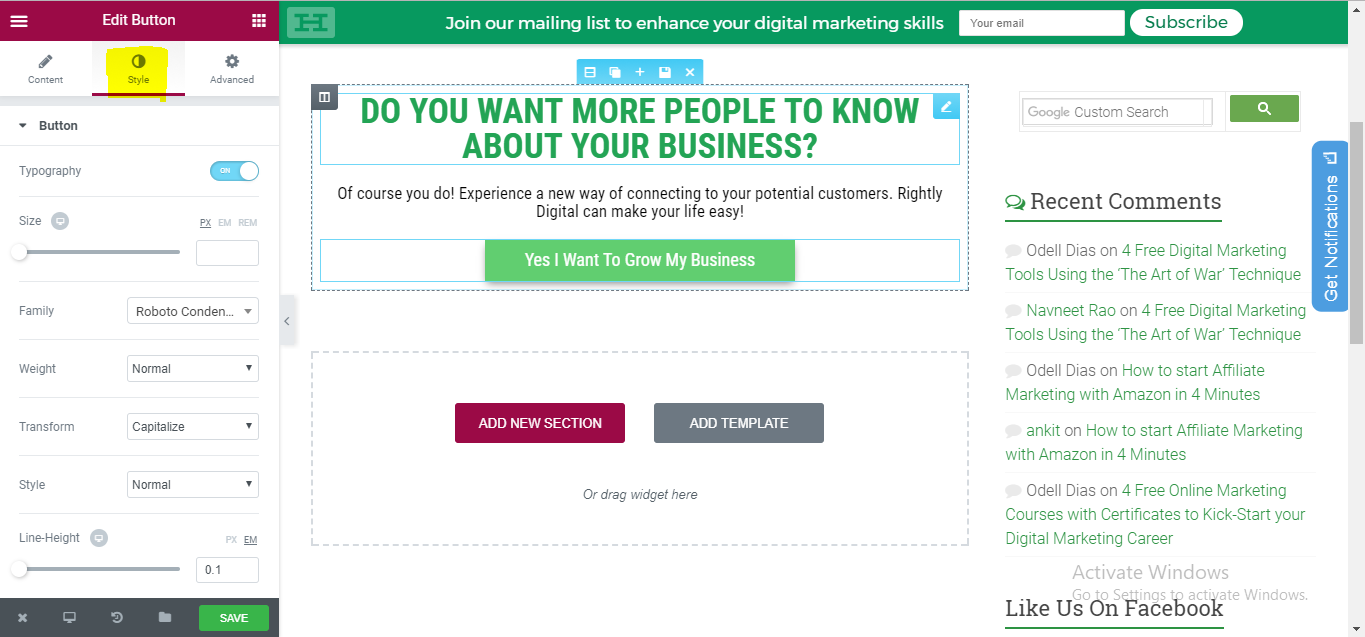
You can also customize the look of the button in the ‘Style’ section. I am going to make a few changes here to highlight my call to action button.
I have also changed the colors of the text to match Rightly Digital’s colors. This is what it looks like.
Step 3: Beautifying your Page
In step 3 we are going to add new tabs and beautify the landing page further. We won’t just stop at basic headers and subheaders, let’s go a step further, let’s embed a video.
Click on the Header column and select edit, then on the right-hand side select style – background – video icon.
Then you simply need to go to YouTube and copy the link of the video you wish to embed in your header section and paste it on the link tab.
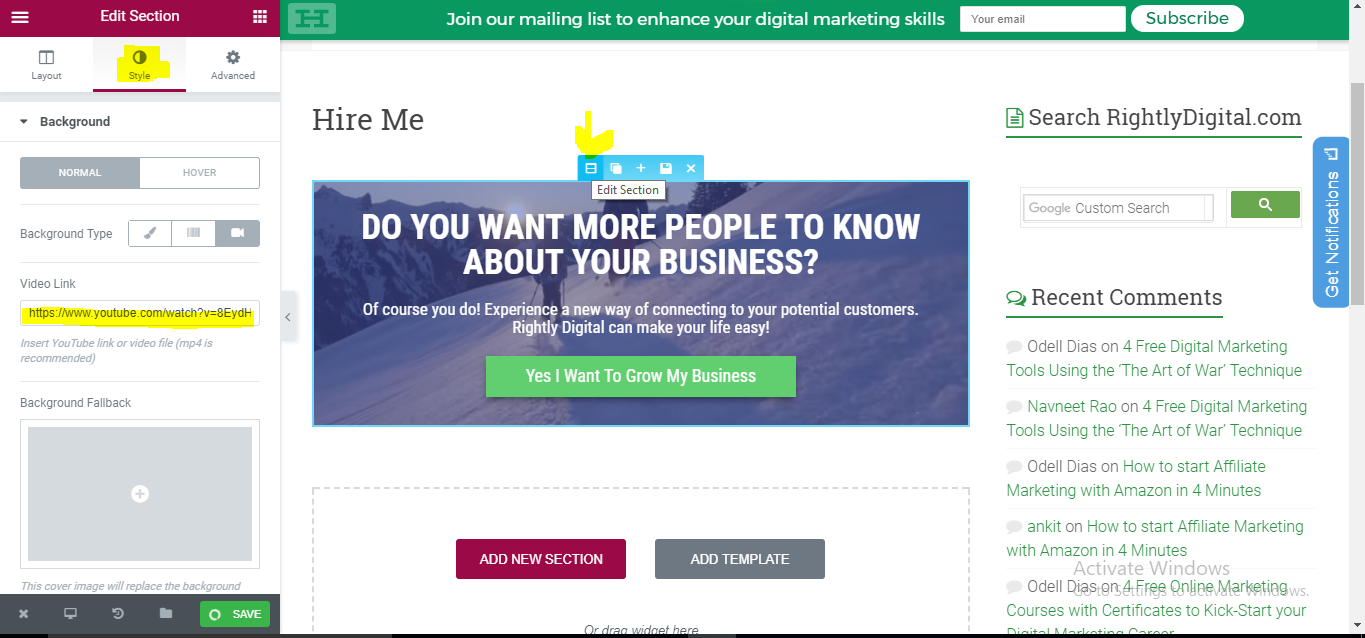
I have also taken the liberty to add an overlay blue tinge to my page and adjusted the color of the text to white so that it stands out.
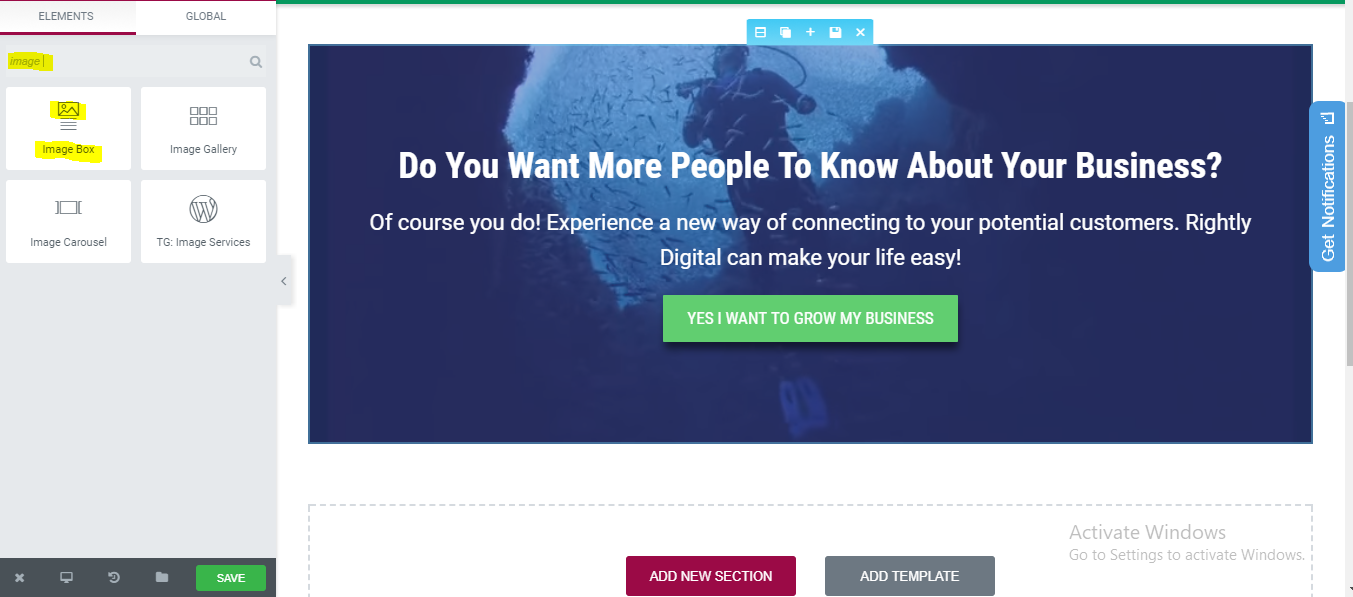
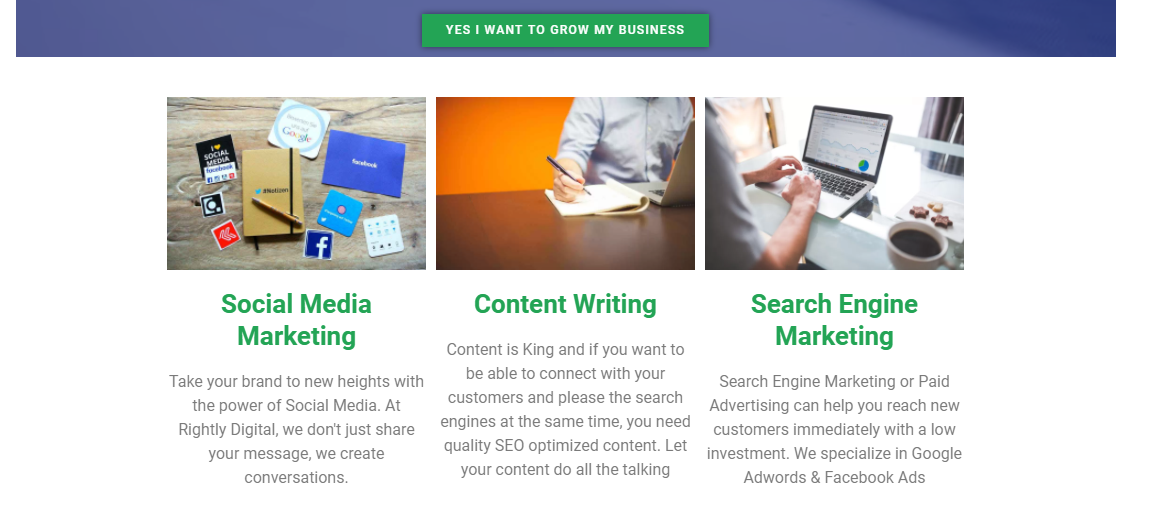
Now the next section, I would want to add the services I am offering, I will be adding three image boxes widgets to highlight the 3 services that I’m offering.
With the image box widget, you can add images along with the text.
Just search for image box from the search bar and drag and drop it in the add new section
Once you have added the pictures, you need to customize the size, spacing and obviously add the content. This is what my page looks like once I customized it.
Now that I’m done with the services section, I want to add an image carousel to my landing page. In my case, I would like to highlight the various tools that Rightly Digital uses as part of their Digital Marketing services. You could probably use it to add company logos and so on.
Search for Image Carousel widget and drag it to the add new section box. Once you do that, you will get the option to add multiple images to the carousel. You can also select the number of images you want to show at one time.
I will display 3 images at a time. There are a lot of subtle customizations that you can add by clicking on the style section such as adding arrows and changing the colors as well. This is what my carousal looks like
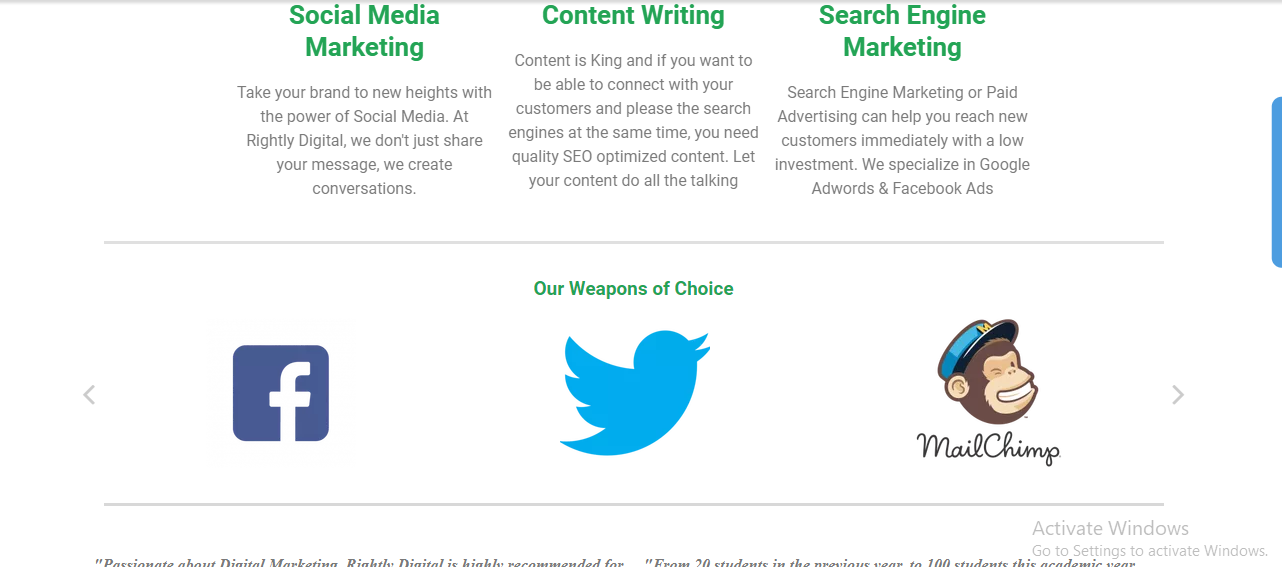
I have used added a header section to add the option ‘Our Weapons of Choice’ and I have also added a divider above and below in order to give it a clean and professional look.
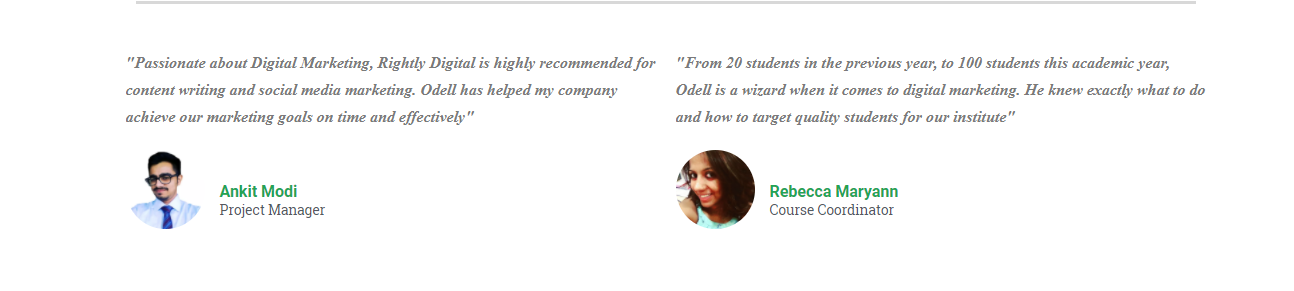
Now finally, I want to seal the deal by adding testimonials from few of my clients, do note that the testimonials that I have added are authentic testimonials by people who I have had the pleasure of working with.
Search for the testimonial widget and drag and drop it in the add a new section. You can then add the testimonial of your choice, add the name of the person, position as well as a profile image.
This is what it looks like once you’re done.
And that’s it. My landing page is ready. You can add more sections as per your needs by simply using the drag and drop options, it is that easy!
Visit my Hire Me page to check out the final result. I have already recieved 4 responses since the page went live, so it does work!
Conclusion
A well-designed landing page is extremely important to accomplish your marketing goals.
You do not need technical or coding skills to create landing pages, you can create beautiful landing pages with the help of Elementor within minutes.
Odell Dias is the founder of RightlyDigital.com where Online Marketing concepts are made easy. He has over 10 years of experience in the Digital Marketing industry, helping brands and individuals alike to achieve their marketing goals. He is known as one of the best digital marketing freelancers for small-to-medium-sized businesses.


Does this have support for popups? Does it have other lead capture functionalities?
You can use certain plugins like Hello Bar along with this. To capture leads, you can also use Typeform
I am impress with your writing skill and selection of topic. thanks
Thanks a lot Sufyan