What if I told you that by just simply adding images on your articles, you could instantly boost your views and followers to your website, unbelievable right.
Well according to Jeff Bullas, blog posts with images get 94% more views compared to articles that don’t. 94 percent! That’s huge, and all of this can be achieved by merely adding images, something so simple can achieve such outstanding results, that’s crazy!
If you’re a graphic designer or have graphic designing experience, then creating visually stunning content would be right up your alley, however, for most of us out there, graphic design is no easy task.
But you don’t need to worry anymore, today you will learn how to create amazing images and designs for your website even if you have no Graphic Design experience whatsoever.
We will do this by using a free web-based tool called Canva. With this tool, you will be able to create logos, blog post pictures, images for almost all of your social networking sites and much more.
I have also gone ahead and created a YouTube Video of the entire set up process. So you can go straight to the bottom of this post to see the video 🙂
So here is a step-by-step process on how to do just that.
Table of Contents
1.) Sign up with Canva
Canva is a web-based application, so there is no software installation required. All you have to do is type www.canva.com on your web browser and you will be taken to a login page like this.
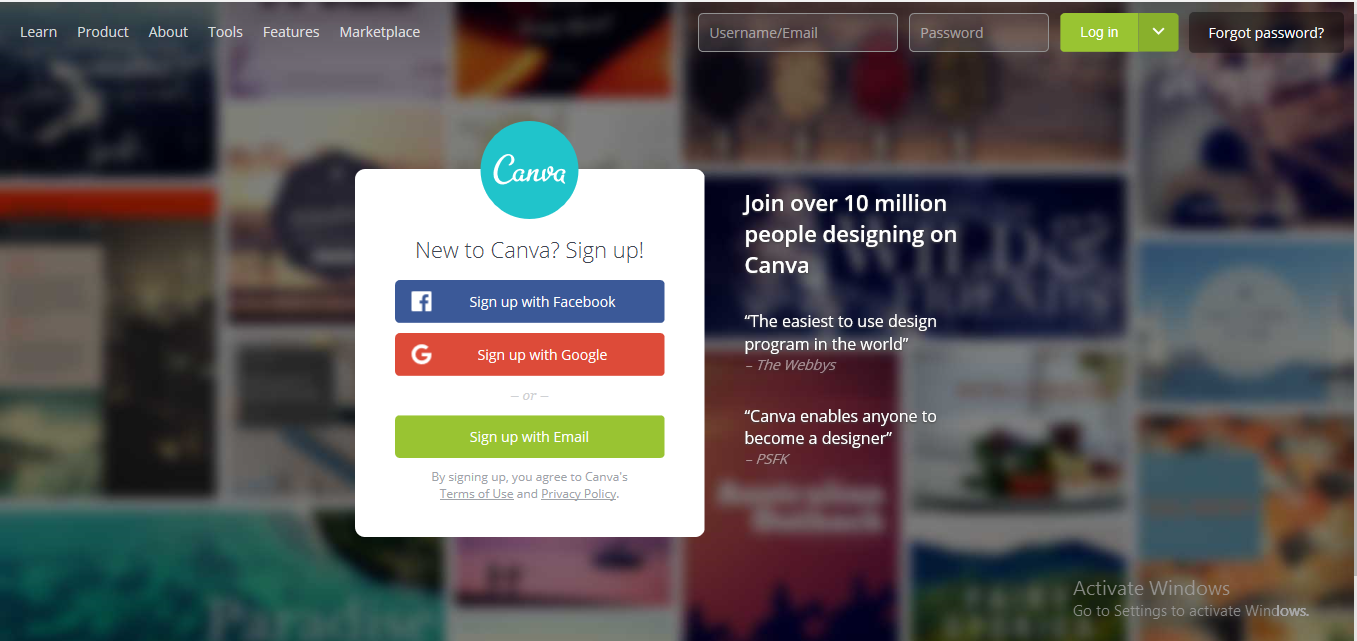
You can either sign up with your Facebook, Google + or an email account. I personally use Facebook however it does not really matter which account you use.
2.) Fast Forward Through The Initial Setup
Once you sign up, Canva will ask you what’s your profession. This is done in order to tailor your experience with the interface. I chose Social Media Manager however once again it does not matter what you choose.
Then Canva will ask you what is it that you want to create. It will give you multiple options however you can skip all of those and click straight to ‘Play with Canva’ at the bottom
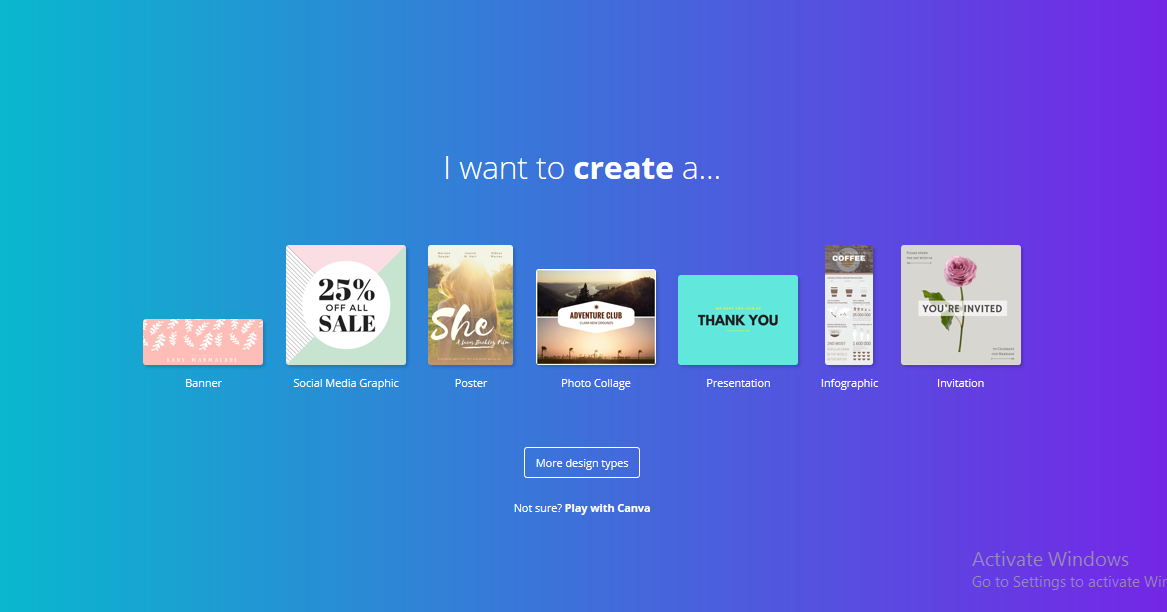
You will be then taken to the Canva workstation where a default tutorial will begin.
You may go through the tutorial if you wish or just click anywhere on the screen if you don’t want to go through that. I will be teaching all the shortcuts in this post anyway 🙂
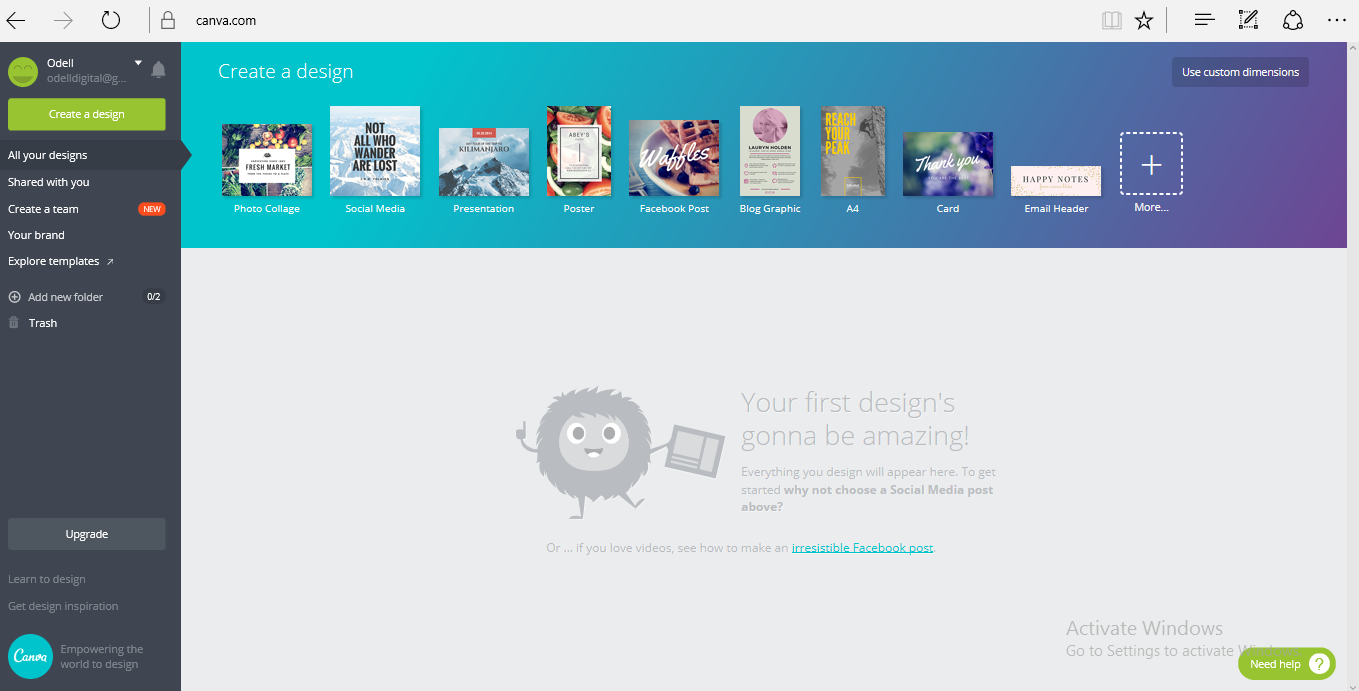
Once you click on any screen. You will see an interface that looks like this.
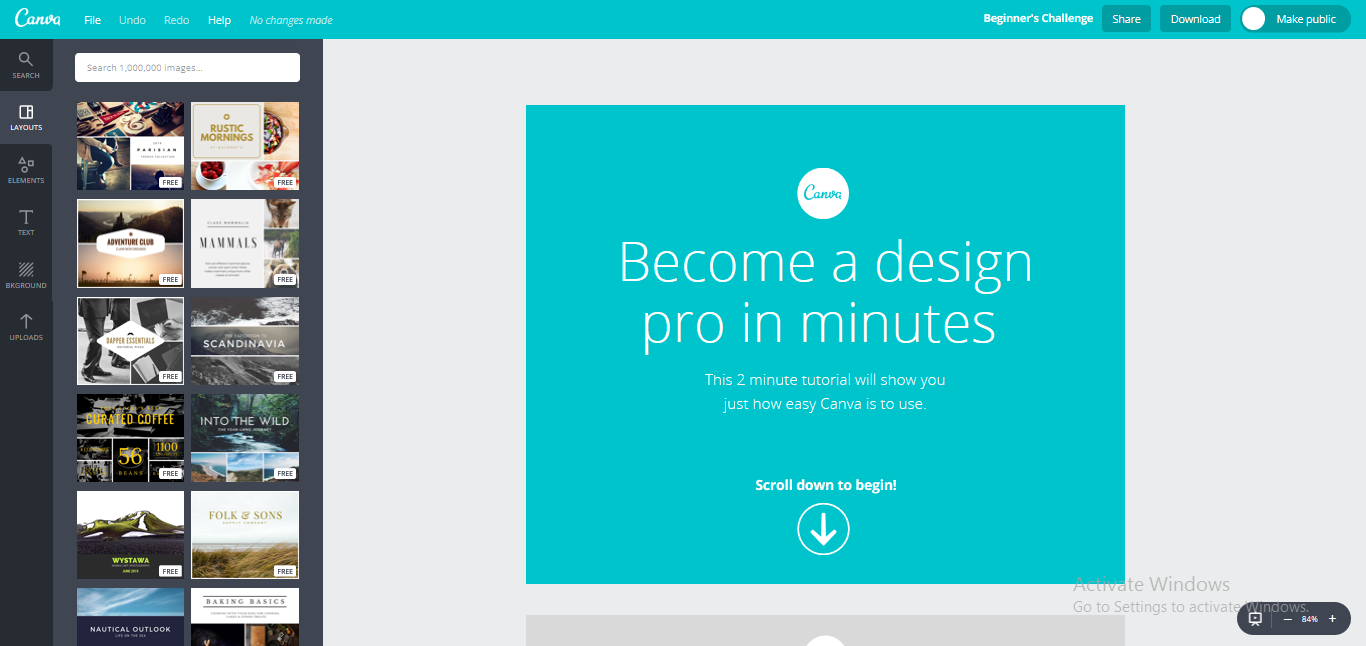
Click on the Canva logo on the top left-hand corner and you will be taken to the “Create Design Area’. From this section, you will be able to create multiple designs based on your needs
3.) Choose Your Post Type
The post type consists of options like Photo Collage, Social Media, Presentation, Poster, Facebook Post, Blog Graphic, A4, Card, Email Header and much more
If you click on the more tab, you will be presented with detailed options organized in rows like ‘Social Media Posts, Documents, Blogging & eBooks, Marketing Materials, Social Media & Email Headers, Events, and Ads.
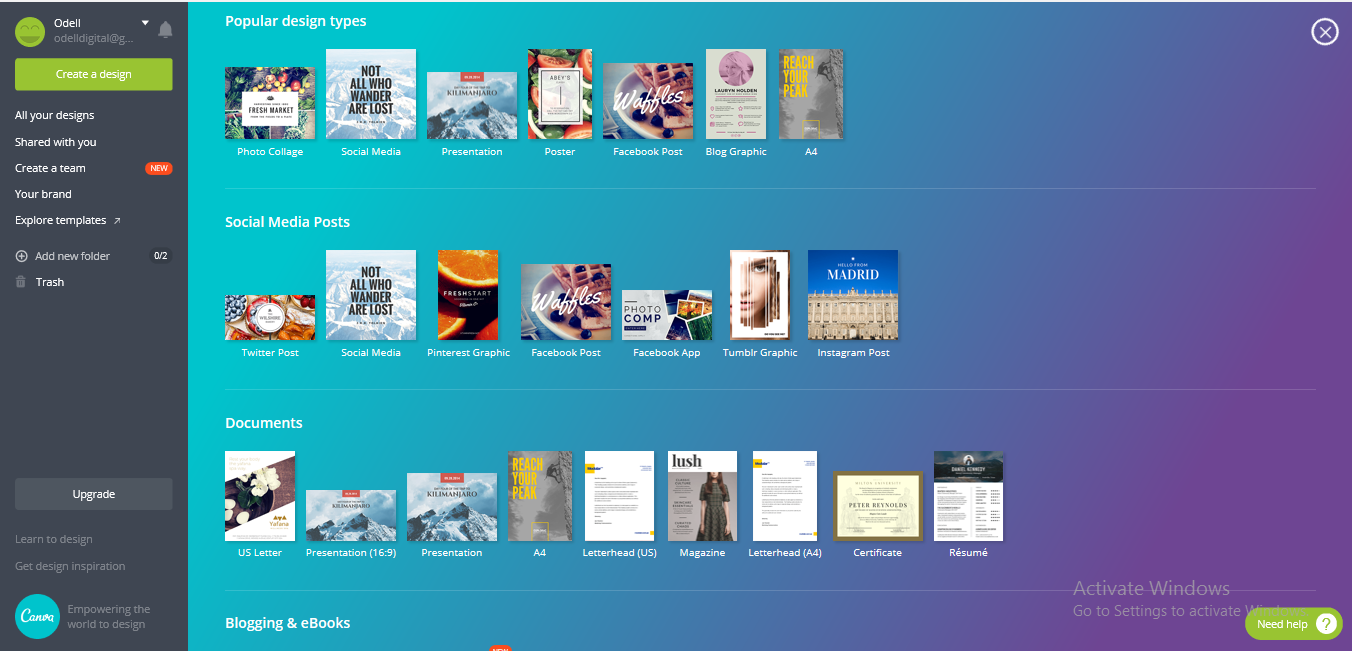
For the purpose of this tutorial, I will choose ‘Facebook Post’ however the concept is the same for any type of option you choose.
Do notice, that if you highlight a specific post type, Canva will show you the ideal specification for that post, so you don’t need to worry about what’s the optimal dimensions for an FB post, Canva does that for you.
In our case, Canva recommends the dimensions for a Facebook Post to be 940X788. I have tried this and it looks perfect. So click on that option
4.) Create Your First Design Like A Boss
Now comes the fun part. You will see the design dashboard, with multiple templates. You can choose from a range of Free and Paid templates. Choose a free template that you fancy
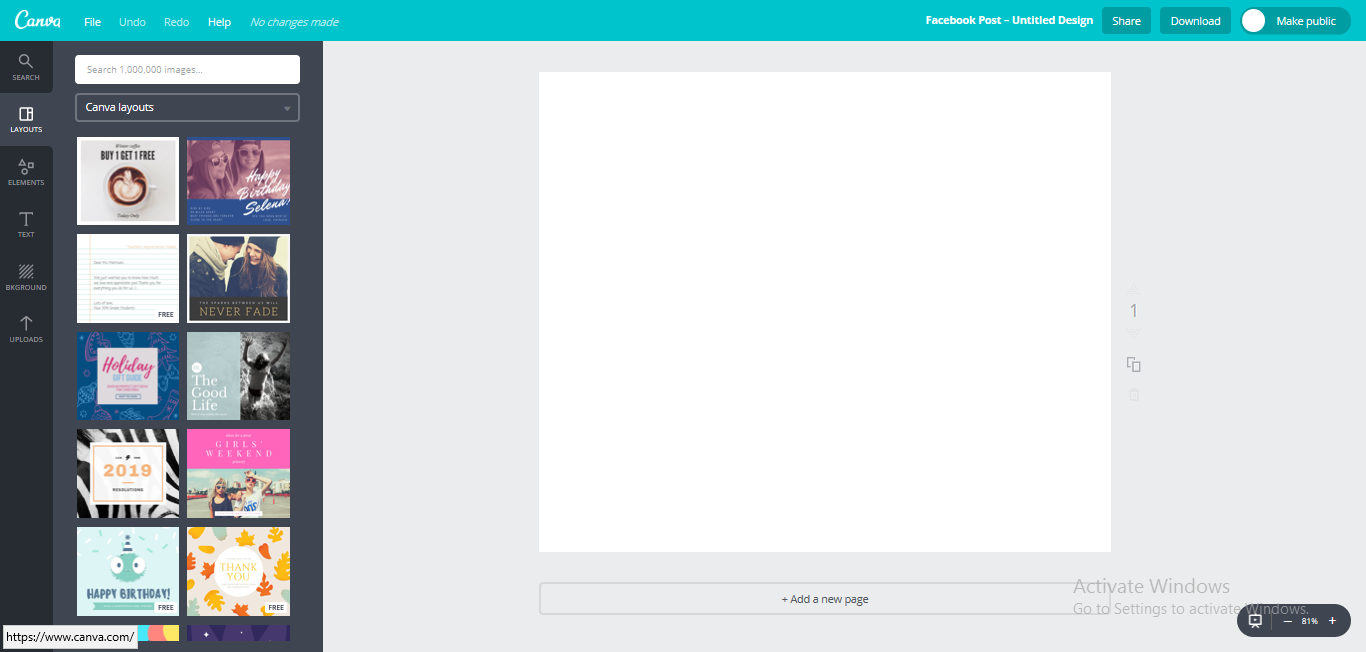
Free templates have a small free icon at the bottom right-hand corner. Select the template that you want, and it will get populated on the canvas area.
Once you do that, you will be able to customize each and every element in the canvas area to make it unique for your own website.
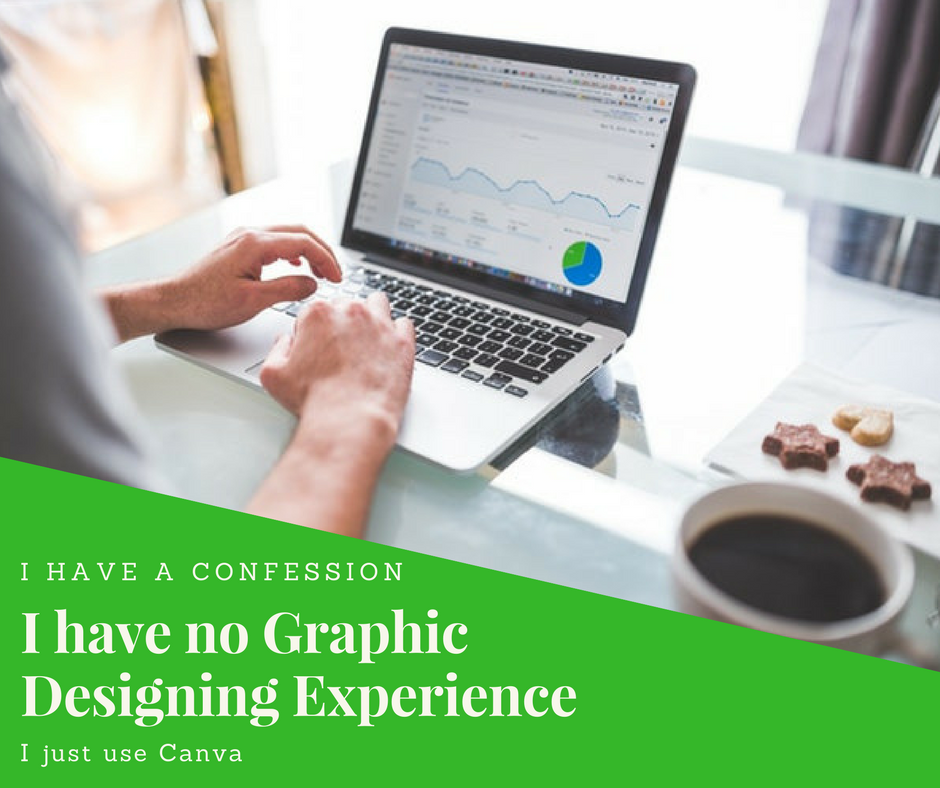
Below is an example of an image without any customization. I just chose a free template of my choice and clicked on download located on the top right-hand corner. You can choose to download it in JPEG, PNG, or PDF
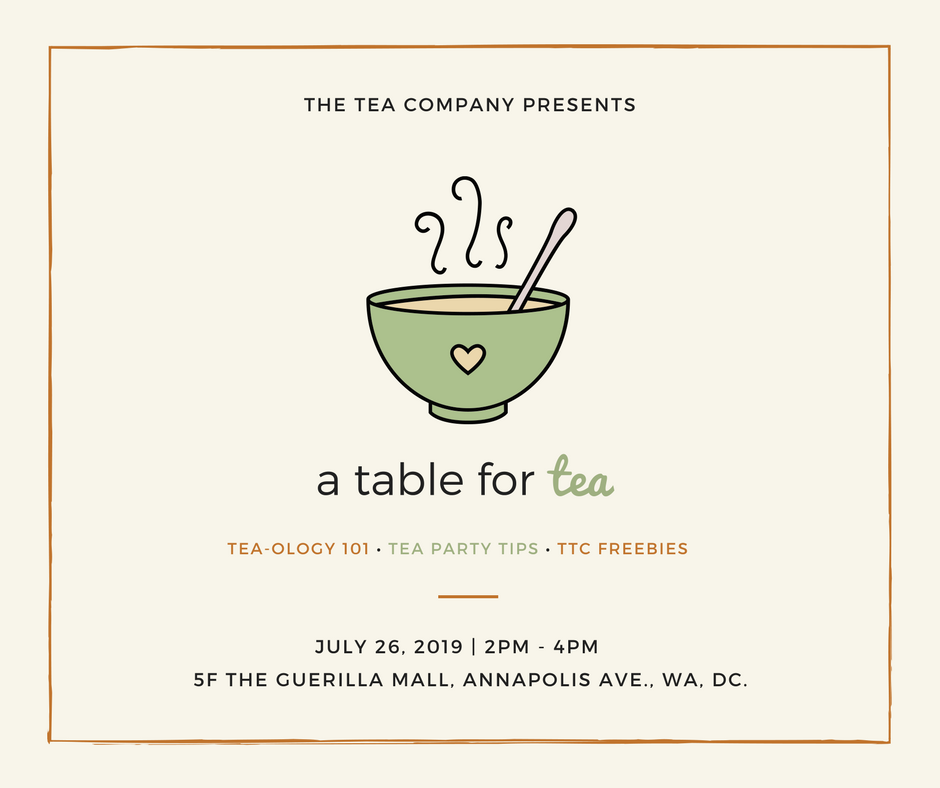
Now if I want to edit each and every element, all I need to do is click on the elements that I want to edit, and start adding in the information I want to add.
I can change the text – add a new font, change its colour, style, position or simply delete it all together.
If I wish to change the tea cup and add my own logo instead, all I need to do is delete the tea cup then on the left-hand side of the interface, select the last option which is ‘upload’ and then upload my own logo.
Once the logo is uploaded, all I need to do is click on the logo and it will appear on the creative. Then I need to simply reposition the logo on the screen.
Below is a complete recustomization of the above image
 Here you can see how I have added my logo, edited the text, increased the size and changed the background colour too. All of this took me approximately 5 minutes to do. That’s it, only 5 minutes.
And this is just basic changes that I have made, Canva gives you an option to choose their own vector elements if you don’t want to go through the hassle of downloading and uploading your own designs
Now, this type of vector style image will work perfectly for certain kinds of posts, however what if you want to make a more professional post? No problems, just choose another template and then customize it.
To choose another template, you need to click on the 2nd option called layout – highlighted in yellow on the left
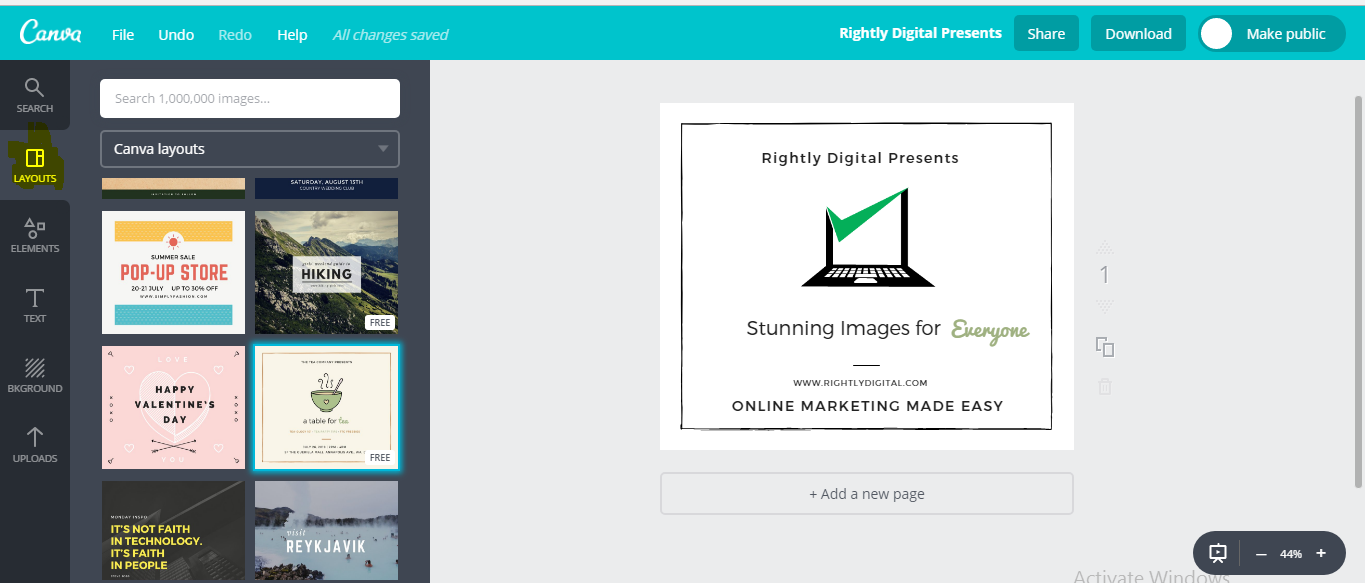
Canva will then ask you if you want to replace the current layer, click on yes, and the new layout will show up. You simply customize it again to your choosing.
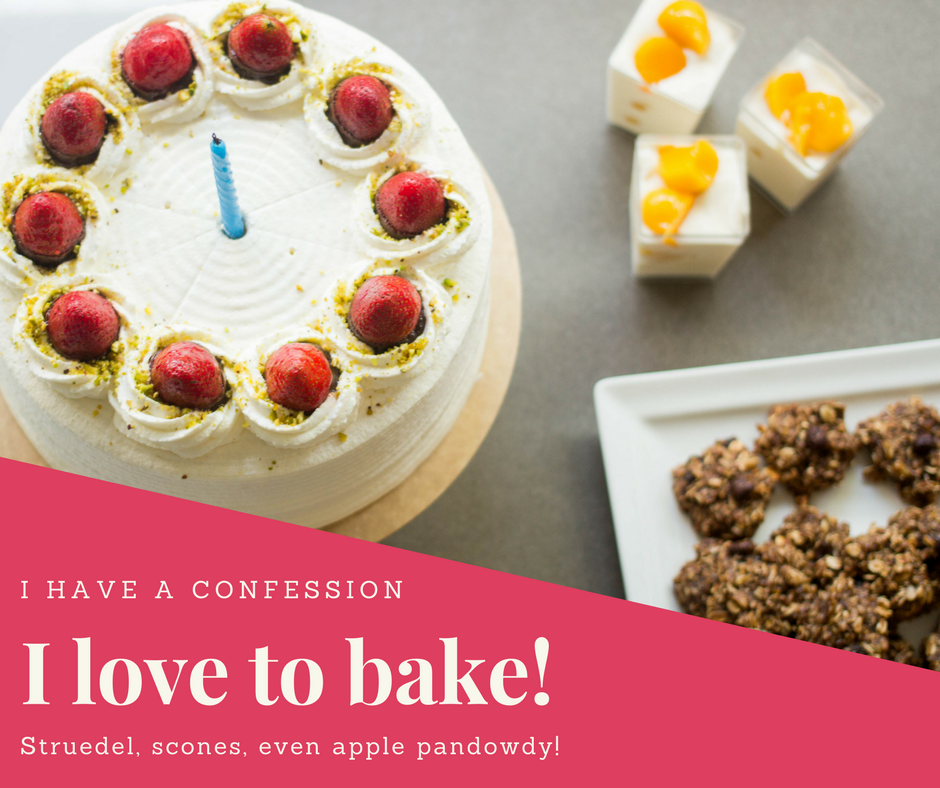
Here is the original template
Now I will change the color, the background image, and the text as well so that the image looks completely in sync with rightlydigital.com
For this particular image, I will use a stock image, of my choice.
Pro tip: If you are in need of stock images, visit pixels.com. You will be able to download high-quality images for absolutely free
Upload the stock image and click on it, it will appear on the main canvas. Just increase the size of the picture and drag it on top of the current image and it will automatically merge with the background
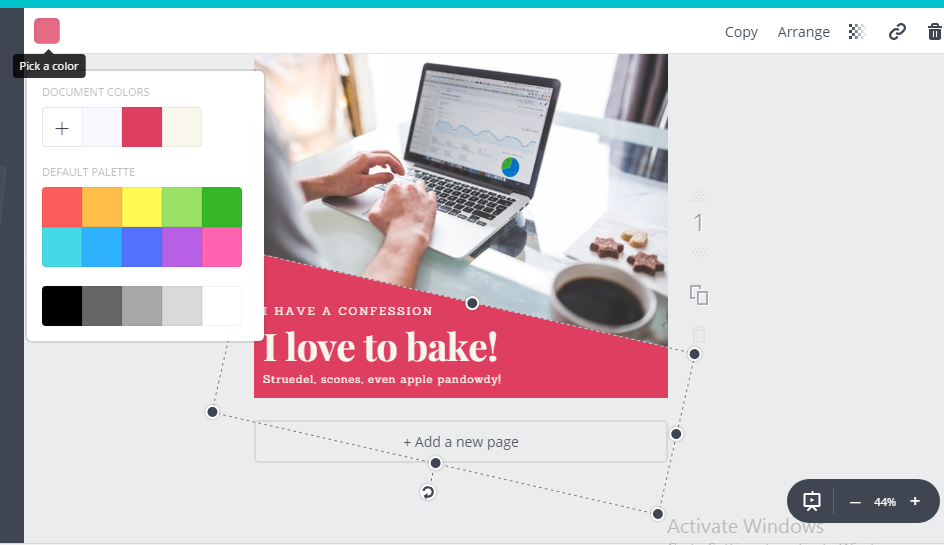
To change the colour, click on the area of the element which is in maroon, and then on the top left-hand corner, click on the colour icon and choose the color of your choice.
You can even pick your own custom color
Make the changes you want, change the text. You can also group and ungroup texts if you want, which then makes it easier to drag and drop.
Here is what my new image looks like
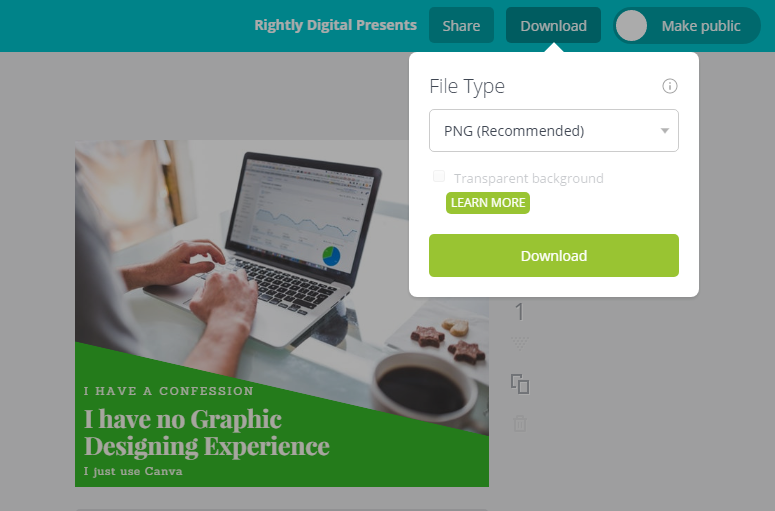
Now if the downloading option was not clear, just click on the top right-hand corner that says download and select the format you wish to download it in.
Here is the screenshot of what it looks like
I invite you to download Canva right now and start playing around with it. There are loads of subtle features that you will discover as and when you start editing your images.
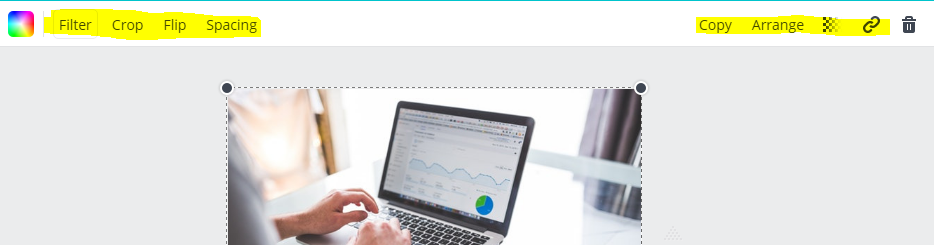
For example, there are many digital marketers who know how to use Canva, however, they overlook features like filter, crop, line spacing, arrange and transparency that appears on the top of the canvas
Those subtle features can vastly enhance the final results of your images.
As promised, here is a quick video on the entire process of creating and using Canva
Update
Now Canva is great but there is a limit to customization on Canva. If you want to become a professional graphic designer, you need to learn the three crucial software: Adobe Photoshop, Illustrator and Premiere Pro. There are several courses and YouTube videos that can teach you how to use these skills, or you can consider doing a Live Online Graphic Design course from Digital Education School. They are really good and the course price is extremely low for a live course. You can check them out here
Conclusion
So there you have it, Canva is a simple yet powerful tool that will help you design stunning images and for free. You don’t need Graphic Design skills anymore. Go ahead, give it a whirl, the more you use it, the more features you will find.
And if you have any questions about Canva, let me know in the comments below and I’ll be happy to help you with it.
Odell Dias is the founder of RightlyDigital.com where Online Marketing concepts are made easy. He has over 10 years of experience in the Digital Marketing industry, helping brands and individuals alike to achieve their marketing goals. He is known as one of the best digital marketing freelancers for small-to-medium-sized businesses.
Excellent piece of content 🙂 Thanks for sharing.
I am Glad you found it helpful 🙂
wow, nice blog post.. greeeeeat
Thank you so much 🙂
Clear language and great content!
Thanks a lot Pratiksha 😀
That’s really Nice ! ☺👍
Thanks a lot 🙂
Nice and attractive
This article suits ur topic…
Kip going
Kip smiling
Really liked it…
Thanks a lot Suraj. 🙂
Interesting content.. truly Digital Marketing made easy .. I have subscribed. looking forward to more great content
Thanks a lot, Payal. I’m almost done with my next article. Hope it adds value to you 🙂
Hello,
Thank you for the resource ,
I tried but the face is i am not a Graphic Designer and don’t a creative brain i guess
my personal view about this is leave it to an expert let him do thing that he is best at also found some resources that might help:
https://www.canva.com
https://vectr.com/
https://netadroit.com/
https://www.befunky.com/features/graphic-designer/
https://www.picmonkey.com/design
Hope that might help who whats to try it them self
have a great day 🙂
Hey Rahul, thank you for the resources. I’m sure it will help the community. With regards to using Canva, I am not a Graphic Designer myself, however, I use Canva for most of the Graphics you see on my site. With practice you will get the hang of it 🙂
Great post. Images on your website and social media are often where your potential customers get their first impression of your business. Professional photos grab the attention of your customers and give a good first impression. The imagery you use for your business should have a distinct style that is unique to your business but also easy to identify. When customers see the images a few times, they make a mental association that the images belong to one company.
Really insightful post, thanks for sharing.